These instructions detail the operational steps once all necessary configurations (Section 2) are complete. If connecting via USB HID, the steps listed in section 2 can be skipped.
The Human Interface Device (HID) protocol enables driverless plug-and-play connectivity for your device via USB.
Ensure the device is powered on and connected via USB.
If this is the first time, you may have to pair the device in the Chromium browser, which involves granting the website permission via a pop-up prompt.
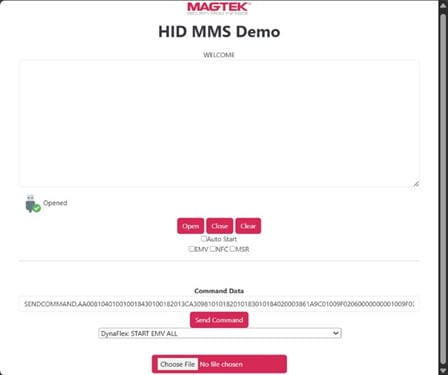
From the Demo Application, select Open, and choose the appropriate device. A green check mark confirms the device is successfully opened.
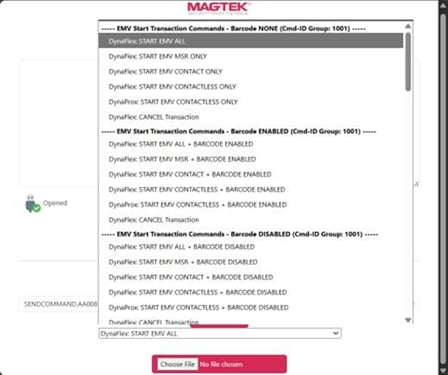
From the command dropdown menu, select a command such as DynaFlex: START EMV ALL.
Select Send Command to execute the action.
Insert or tap a test card and monitor the transaction log for the response.
Figure 3 - HID MMS Demo
Message Queuing Telemetry Transport (MQTT) is a lightweight messaging protocol commonly used for Internet of Things (IoT) applications. It provides efficient, reliable communication between devices and applications, even in environments with limited connectivity. IMPORTANT: DynaFlex II PED is the only device that supports native MQTT. All other Dyna Devices must use the HID MQTT Device Client.
Key characteristics include:
Publish/Subscribe model – Devices publish data to a central broker; applications subscribe to receive data.
Low overhead – Messages are compact and efficient, suitable for embedded systems.
Real-time updates – Events such as card insertions are transmitted immediately to the Demo Application.
Cross operating system and cross browser connectivity: MQTT ensures seamless interaction because it is platform-agnostic, meaning devices running Windows, Linux, macOS, or embedded OS, and applications running in different browsers, can all connect and exchange messages reliably.
Within the HID MQTT Device Client and MQTT MMS Demo, this protocol enables MagTek MMS devices (e.g., Dyna Family Devices) to securely communicate via MQTT across operating systems.
Figure 4 - MQTT Geographic Map
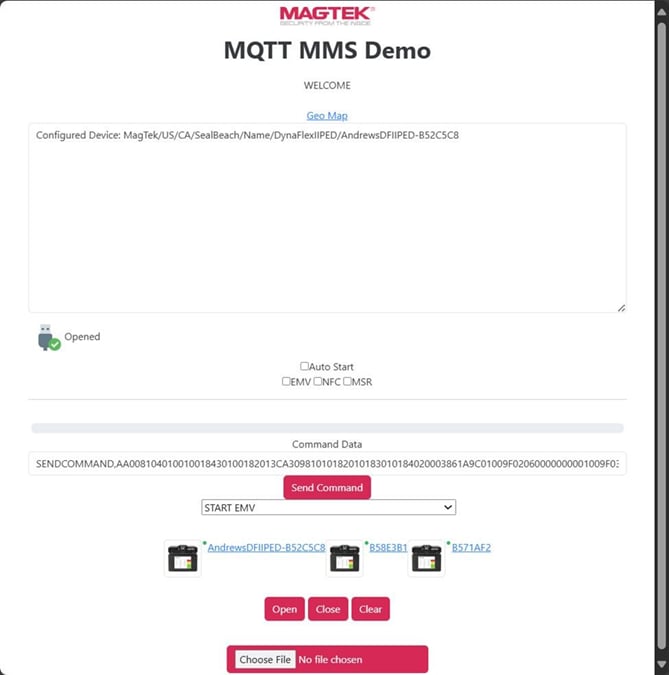
Figure 5 - MQTT MMS Demo
Configured Device – Identifies the active device.
Status Indicator – A green check mark indicates a successful connection.
Options – Auto Start, EMV, NFC, and MSR session checkboxes.
Command Data – Field for entering or pasting hexadecimal command data.
The command above, and others can be selected from the pulldown menu. The Choose File button allows the user to upload custom commands from a file. This screen also confirms device recognition, command formatting, and connectivity prior to further testing.
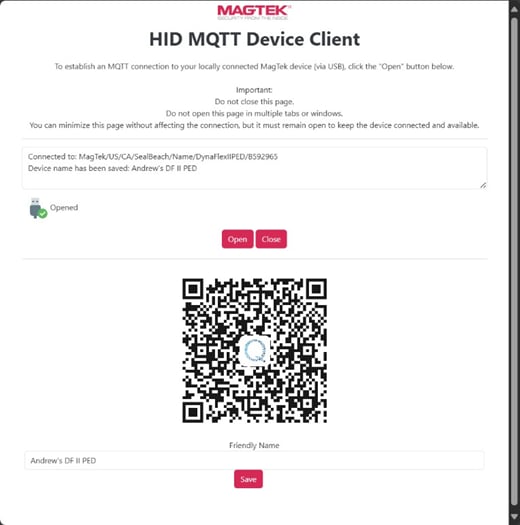
The HID MQTT Device Client acts as a communication gateway that transforms your locally connected MagTek device (via USB HID) into a remote asset. This allows other applications to access the device securely via the MQTT protocol. IMPORTANT: DynaFlex II PED is the only device that supports native MQTT which means it does NOT need to use the HID MQTT Device Client.
Power on and connect the device via USB.
Open the HID MQTT Device Client page.
Select Open within the client.
Scan the QR code or select the provided link to open the separate MQTT Device Demo Application.
Figure 6 - HID MQTT Device Client
The MQTT Geographic Map displays device location and status for connected units, see Figure .
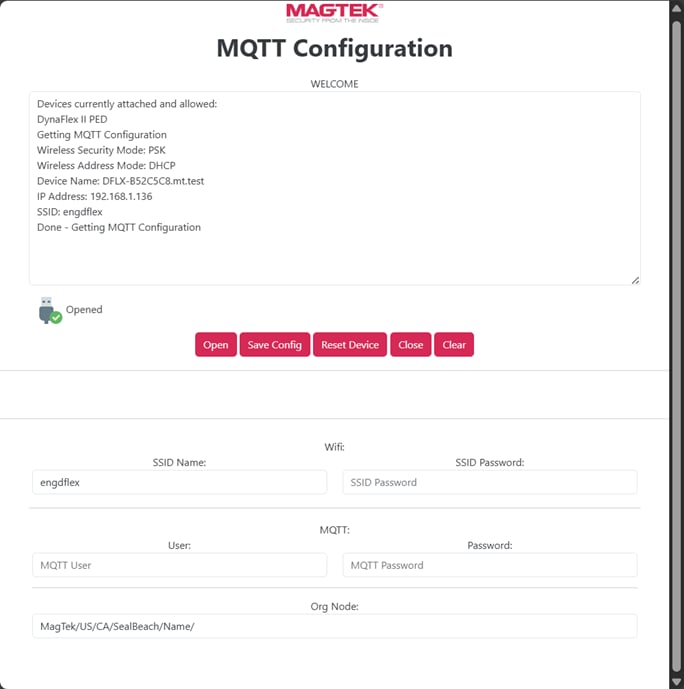
The MQTT Configuration page provides controls and parameters necessary for device operation over MQTT.
Device Status Panel – Displays device information (model, name, IP address, SSID) and records configuration progress.
Controls – Includes Open, Save Config, Reset Device, Close, and Clear.
Wi-Fi Settings – SSID and password configuration.
MQTT Credentials – Org Node, username, and password for broker authentication.
Figure 7 - MQTT Configuration
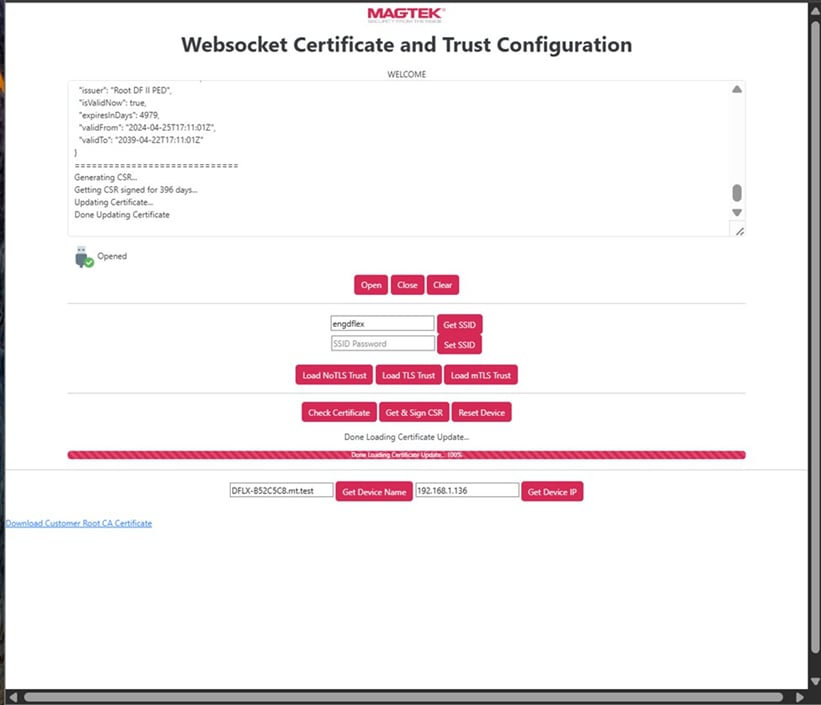
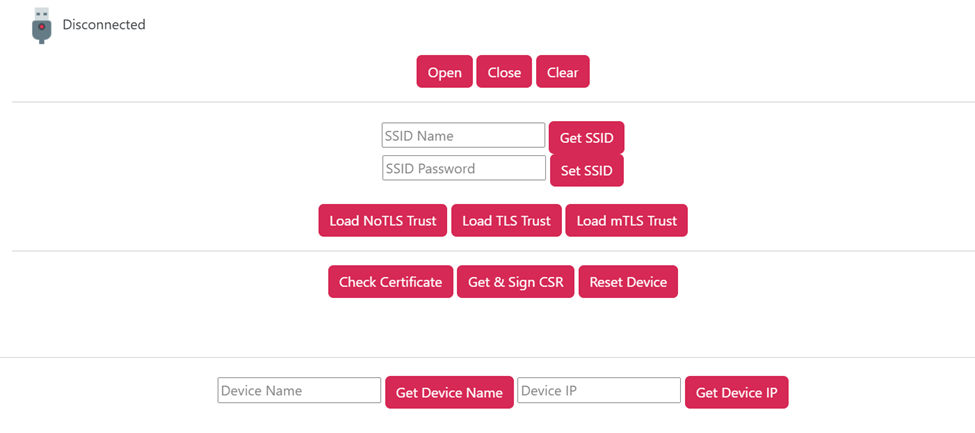
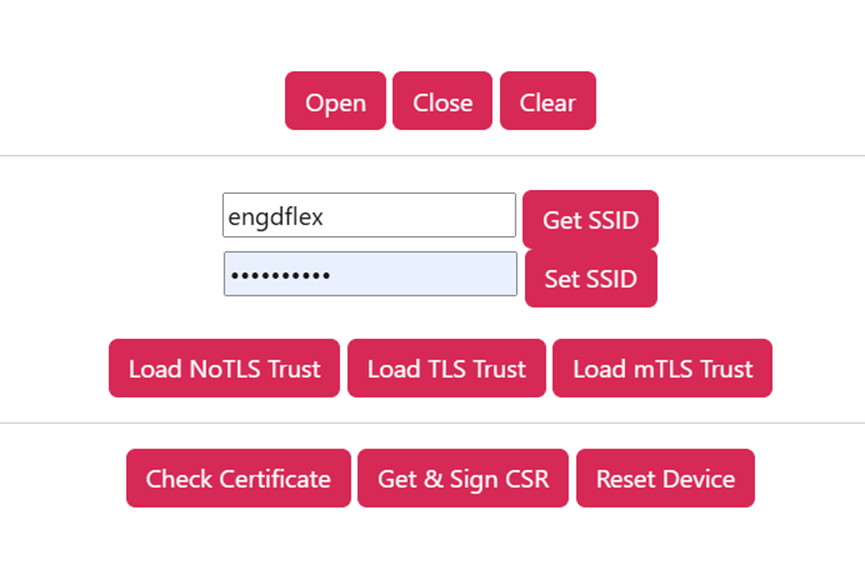
This interface is used to configure secure communication with WebSocket transport using TLS or mTLS. Functions include:
Network Settings – Get DHCP and Set SSID.
Wi-Fi Setup – Retrieve or assign SSID and password credentials.
Certificate and Trust Management – Load TLS/mTLS certificates, verify certificates, and generate or sign Certificate Signing Requests (CSR).
For NonTLS connection,
Figure 8 - WebSocket Certificate and Trust Configuration
When using WSS (WebSockets over SSL/TLS) with DynaFlex devices, the following technical considerations are critical for IT teams to ensure reliable and secure communication.
The default SSL certificate pre-installed on DynaFlex devices is uniquely generated for each device and tied to a hostname in the format df-[SerialNumber] (e.g., df-1234567). This certificate is used to establish the WSS connection.
SSL/TLS certificates are literal. The browser (or any WebSocket client) validates that the hostname used in the connection URL exactly matches the certificate's Subject Name or Subject Alternative Name (SAN). If the URL uses wss://df-1234567/ but the network appends a domain suffix (e.g., df-1234567.office.lan), the browser will reject the connection as insecure because the names do not match.
IP addresses cannot be used. Connecting via wss://192.168.1.50/ will trigger a SAN missing error because the certificate is issued to a name, not an IP address.
Therefore, the network must be configured to resolve the short hostname (e.g., df-1234567) to the device's IP address. The following options are available:
Option A: Global Search Suffix (Recommended) Configure the DHCP server to add a Connection-Specific DNS Suffix (via DHCP Option 15/119). This allows client computers to automatically map the short name to the device without manual DNS entries. Action: Add your local domain to the DHCP option list so that df-[SerialNumber] resolves correctly.
Option B: The "Trailing Dot" Override If DNS search suffixes are misconfigured or polluted, you can force the browser to look for the bare hostname by appending a trailing dot to the URL. Standard URL: wss://df-12345678/ (the OS may append the domain) Forced URL: wss://df-12345678./ (the trailing dot forces an exact hostname lookup)
Option C: CNAME or A-Record in Local DNS For networks with a central DNS server, create a static entry. Action: Create a forward lookup zone with an A record (or CNAME) for df-[SerialNumber] pointing to the device's static IP address.
The WSS connection relies on a server certificate installed on the device. As of this writing, the demo application signs certificates with a validity period of 13 months. After expiration, any WSS communication will fail silently due to browser security policies—no manual override is possible for WebSocket connections.
Best Practice: Certificates must be replaced before they expire. A certificate update strategy must be employed when deploying devices in production using WSS.
Renewal Process: Use the WSS Certificate and Trust page to generate a new Certificate Signing Request (CSR) and load a renewed certificate. Refer to the steps for loading TLS trust and resetting the device.
Monitoring: Implement monitoring to alert administrators when certificate expiration is approaching (e.g., 30 days prior).
By adhering to these hostname resolution and certificate lifecycle guidelines, you ensure uninterrupted and secure WSS communication with your DynaFlex devices.
Controls – Dropdown for pre-defined commands (e.g., START EMV) and Send Command button.
Device Instances – Displays connected devices with selectable IDs.
File Upload – Allows uploading of command scripts or batch test files.
From the MQTT Device Demo Application’s dropdown, select the required command, or use Choose File to upload a custom command script.
Select Send Command to execute the command remotely.
Once configuration is complete and saved, the user may proceed to execute commands such as Start EMV. See Figure 7 - MQTT Configuration.
Click Load NoTLS Trust
Next, reset the device.
For TLS/mTLS connections,
Click Load TLS Trust or Load mTLS Trust
Next, click Get & Sign CSR
Next, reset the device.
Controls – Open, Close, Clear, and Reset Device.
Device Identity – Display or update the registered device name and IP address.
Root CA Download – Provides access to the root certificate authority file for verification.
AA008104010010018430100182013CA30981010182010183010184020003861A9C0100
9F02060000000001009F03060000000000005F2A020840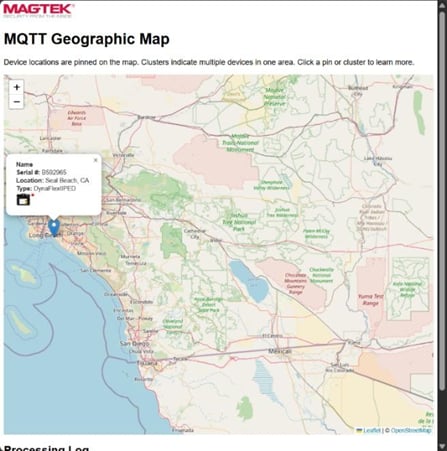
March 2026
Document Number: D998200713-100
REGISTERED TO ISO 9001:2015
Copyright © 2006 - 2025 MagTek, Inc. Printed in the United States of America
INFORMATION IN THIS PUBLICATION IS SUBJECT TO CHANGE WITHOUT NOTICE. MAGTEK CANNOT BE HELD LIABLE FOR ANY USE OF THE CONTENTS OF THIS DOCUMENT. ANY CHANGES OR IMPROVEMENTS MADE TO THIS PRODUCT WILL BE INCLUDED IN THE NEXT PUBLICATION RELEASE. IF YOU HAVE QUESTIONS ABOUT SPECIFIC FEATURES AND FUNCTIONS OR WHEN THEY WILL BECOME AVAILABLE, PLEASE CONTACT YOUR MAGTEK REPRESENTATIVE.
MagTek®, MagnePrint®, and MagneSafe® are registered trademarks of MagTek, Inc. Magensa™ is a trademark of MagTek, Inc.
AAMVA™ is a trademark of AAMVA.
American Express® and EXPRESSPAY FROM AMERICAN EXPRESS® are registered trademarks of American Express Marketing & Development Corp.
D-PAYMENT APPLICATION SPECIFICATION® is a registered trademark of Discover Financial Services CORPORATION
MasterCard® is a registered trademark and PayPass™ and Tap & Go™ are trademarks of MasterCard International Incorporated.
Visa® and Visa payWave® are registered trademarks of Visa International Service Association.
ANSI®, the ANSI logo, and numerous other identifiers containing "ANSI" are registered trademarks, service marks, and accreditation marks of the American National Standards Institute (ANSI).
ISO® is a registered trademark of the International Organization for Standardization. UL™ and the UL logo are trademarks of UL LLC.
PCI Security Standards Council® is a registered trademark of the PCI Security Standards Council, LLC. EMV® is a registered trademark in the U.S. and other countries and an unregistered trademark elsewhere. The EMV trademark is owned by EMVCo, LLC. The Contactless Indicator mark, consisting of four graduating arcs, is a trademark owned by and used with permission of EMVCo, LLC.
The Bluetooth® word mark and logos are registered trademarks owned by Bluetooth SIG, Inc. and any use of such marks by MagTek is under license.
Google Play™ store, Google Wallet™ payment service, and Android™ platform are trademarks of Google LLC.
Apple Pay®, iPhone®, iPod®, Mac®, and OS X® are registered trademarks of Apple Inc., registered in the U.S. and other countries. iPad™ is a trademark of Apple. Inc. App StoreSM is a service mark of Apple Inc., registered in the U.S. and other countries. IOS is a trademark or registered trademark of Cisco in the U.S. and other countries and is used by Apple Inc. under license.
Microsoft®, Windows®, and .NET® are registered trademarks of Microsoft Corporation. All other system names and product names are the property of their respective owners.
Rev Number
Date
Notes
100
09/03/2025
Initial Release
101
3/16/2025
Added WebSocket information
For devices using MQTT or WebSocket (WSS), configuring your host application and provisioning the device itself is mandatory to establish a successful secure connection. If connecting via USB HID, all steps listed in section 2 can be skipped.
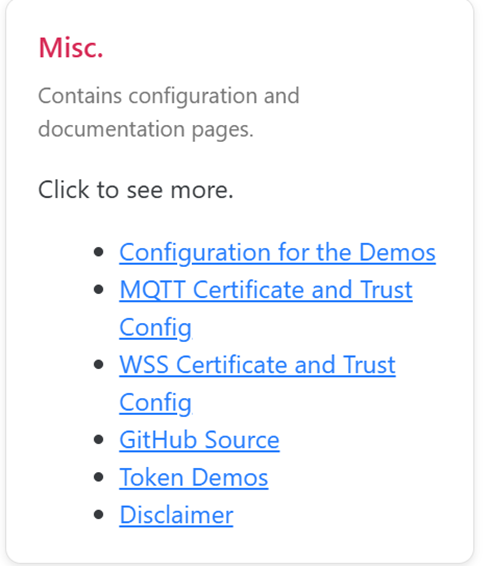
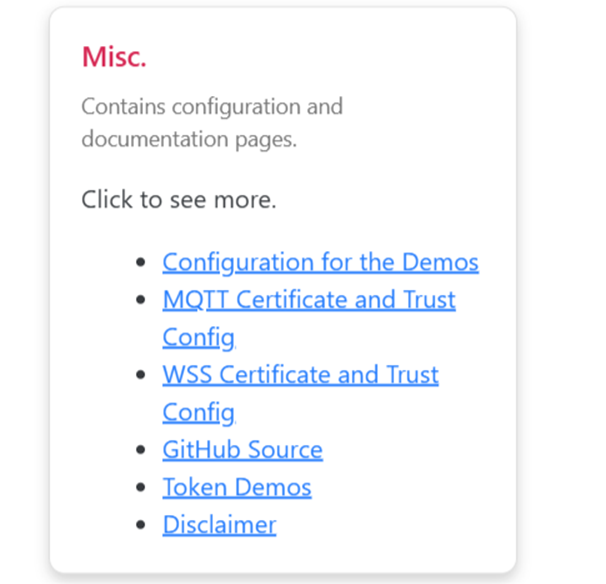
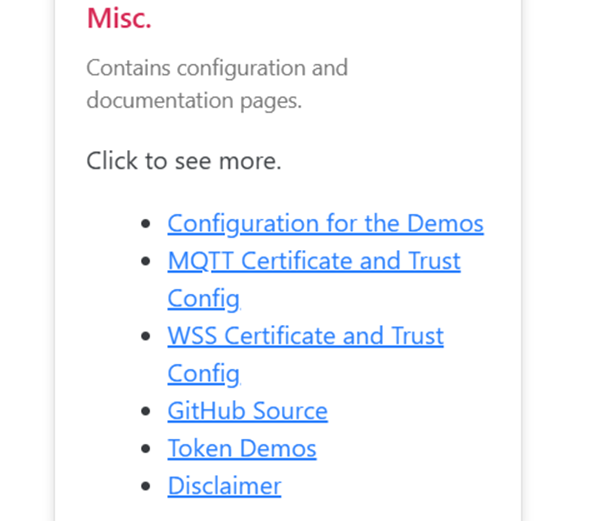
Before using MQTT or WebSocket (WSS), configuration is required. From the Demo Application Home Page, select Misc. → Configuration for the Demos.
Figure 2 - Miscellaneous Configuration and Documentation Pages
Configure the Demo Application by supplying the necessary API keys and server addresses.
From the Home Page, select Misc. → Configuration for the Demos.
Enter and save the required settings.
RMS Options: Enter the Magensa API key and service URL
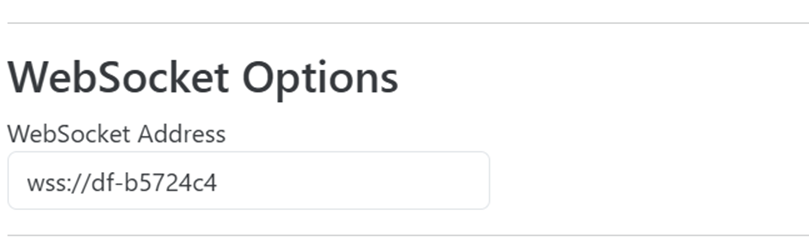
WebSocket Options: Provide the WebSocket server address.
MQTT Options: Specify the Org Node, broker address, client ID, and user credentials.
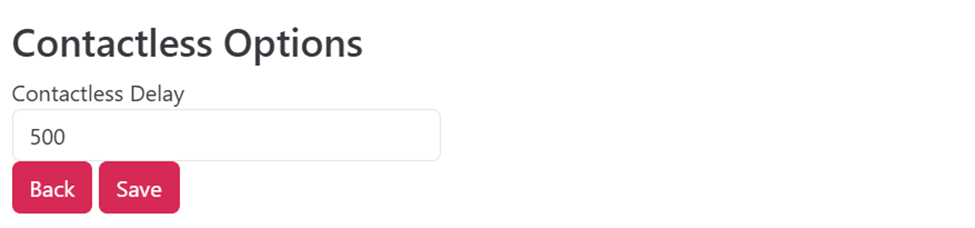
Contactless Options: Adjust timing parameters for NFC operations.
The separate MQTT Configuration page is used to provision your physical device with its Wi-Fi credentials and MQTT broker details.
Connect your device via USB HID.
Open the MQTT Configuration demo page.
Select Open to connect to your device.
Use the Wi-Fi Settings section to enter the device's SSID Name and SSID Password.
Connect the host PC to the same wireless network that your DynaFlex II PED device will be connected to.
Open this page using a Chromium Browser
Plug in the device via USB cable
Click Misc and click WSS Certificate and Trust Config
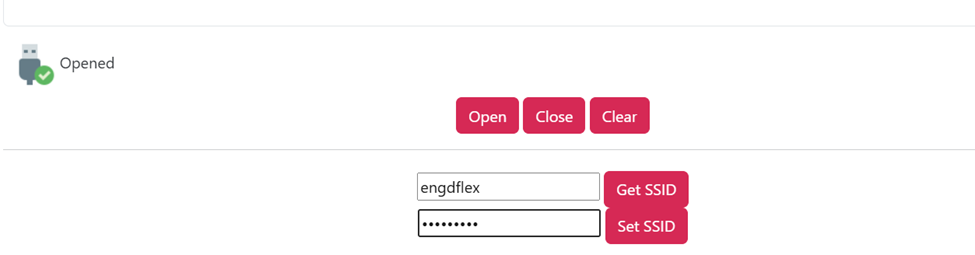
Click Open button
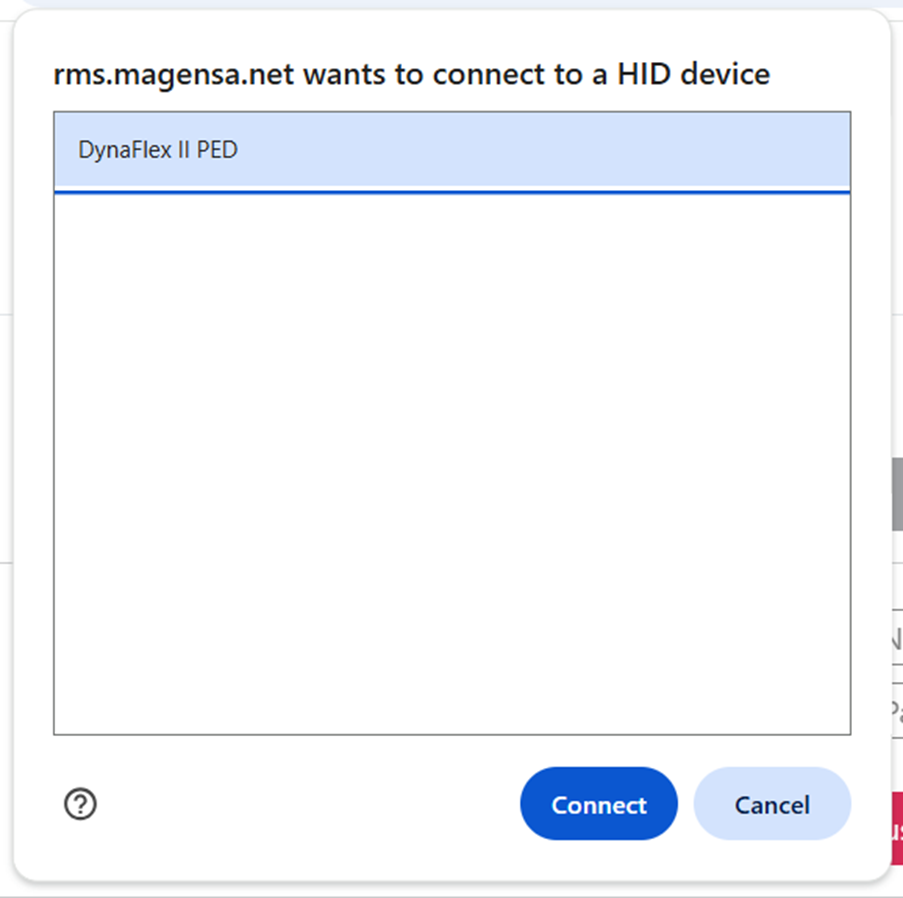
Select DynaFlex II PED and Click Connect.
Enter Wireless Network SSID and password, then click Set SSID
If you want to connect via non-secure TLS connection, press Load NoTLS Trust, and press Reset Device
If you want to configure via secure TLS, press Load TLS Trust, then press Get & Sign CSR, then Press Reset Device
By clicking on the MAGTEK Logo on the top of the page, go back to the Miscm Menu and press Configuration for the Demos option
Enter device host name under WebSocket Options, for Non-secure TLS, just put ws://device-hostname, for TLS secure connections, enter wss://device-hostname (example wss://df-1234567)
Click Save
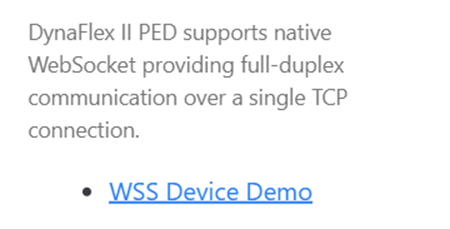
Go back to home page and press MMS Devices for EMV, NFC, BCR and PIN, then press WSS Device Demo
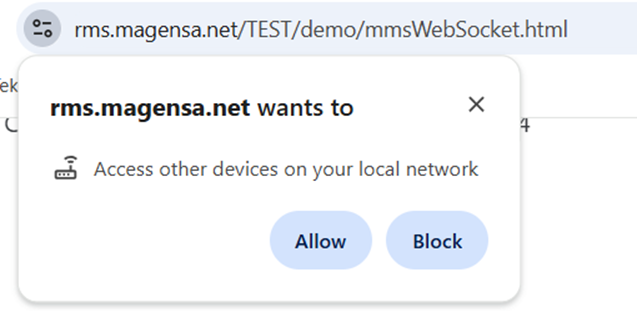
Allow other devices on your local network
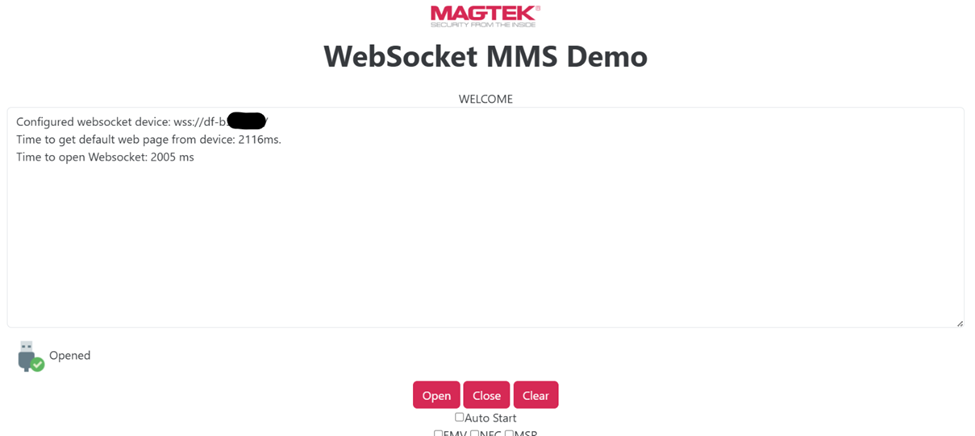
Click on Open which will all open the connection to the device:
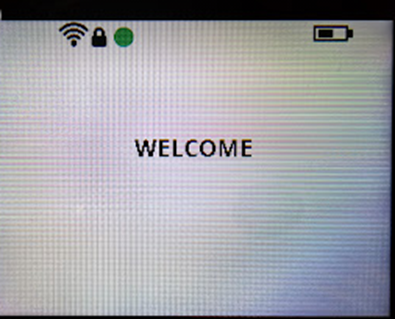
The terminal should display a green dot indicating successful connection:
Use the MQTT Credentials section to enter the MQTT User, Password, and Org Node.
Select Save Config.
The device will record these settings, allowing it to connect to your broker over the network.
This document provides instructions for using the browser-based MagTek Demo Applications to configure and test MagTek devices, including MMS devices, specifically the DynaFlex family (including DynaFlex, DynaFlex Pro, DynaFlex II, DynaFlex II PED, DynaFlex II Go and DynaProx, models).
The Demo Applications enable comprehensive testing of a wide array of capabilities, including core payment functions like EMV chip and NFC transactions, MSR reading, barcode scanning, and PIN entry. Note that feature support is dependent on your specific device model. For instance, the DynaFlex II PED model supports PIN entry, manual card entry, and signature capture functionalities.
CRITICAL REQUIREMENT: For USB connected devices, these demos require a Desktop, Chromium Browser Only!
The MagTek Demo Applications rely on Web HID functionality for USB connected devices, which is not supported by mobile browsers (iOS/Android). You must use a desktop-based Chromium browser (like Google Chrome, Microsoft Edge, or Opera) for the demos to function correctly when using a USB connected device.
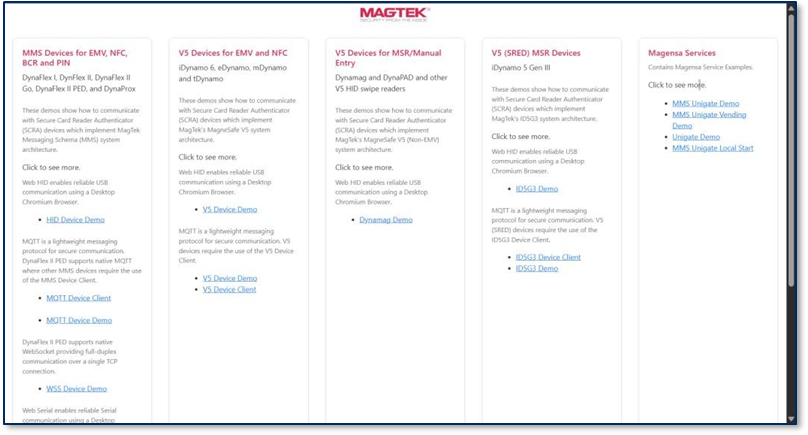
Upon opening the Web HID Demo home page, the Main Page is displayed. This page serves as the central menu and is organized into the following categories:
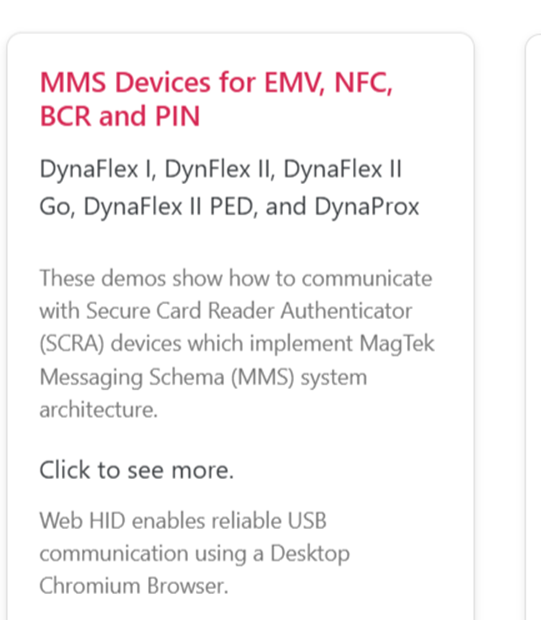
MMS Devices – DynaFlex I/II device types and DynaProx (EMV, NFC, Barcode, PIN and MSR)
V5 Devices – iDynamo, eDynamo, mDynamo, tDynamo (EMV, NFC and MSR)
V5 MSR/Manual Entry – MSR swipe devices such as Dynamag and DynaPAD
V5 (SRED) Devices – iDynamo 5 Gen III (MSR)
Each section provides a corresponding demo page with user interface elements for connecting a device, issuing commands, and reviewing results see Figure 1.
Figure 1 - Demo Application Home Page
The MMS product family includes the following devices:
DynaFlex/DynaFlex Pro
DynaFlex II/DynaFlex II PED
DynaFlex II GO
DynaProx
Devices in this family generally support EMV, NFC, barcode, MSR, and PIN functionality, though specific features vary by model. The Demo Application connects through methods including USB HID, WebSocket (WSS), MQTT, or Bluetooth Low Energy (BLE), depending on the connection method enabled on your device.
This checklist provides a summary of the steps required for configuring and running a demo with your device.
Prepare Device: Power on the device (if there is a power button) and connect it via USB, Wi-Fi, MQTT, or BLE.
Open Demo Application: Launch the Web HID Demo in a desktop Chromium browser.
Configure Host App: Be sure to enter RMS, WebSocket, MQTT, and Contactless parameters prior to using the various demos.
Device Provisioning: If using WSS or MQTT, provision the device's network and security settings (as outlined in Section 3)
Open Session: Select Open and confirm a successful connection.
To test your setup and connection, choose a command (e.g., Start EMV ALL), paste command data if necessary, and select Send Command.
View Results: Swipe, insert, or tap a card, and observe the transaction log for the response and confirmation.
Magensa Services – secure services for transaction testing
Miscellaneous – configuration and GitHub source access