To use the MTCMS .NET Demo, follow these steps.
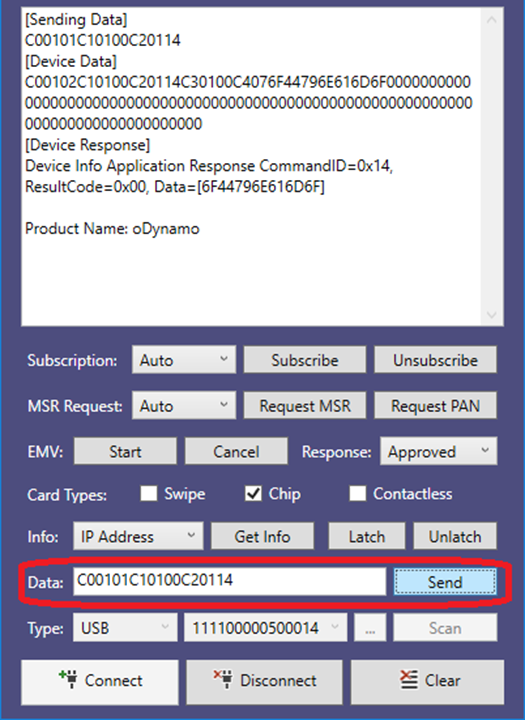
To send a command to the device, enter the command in the command text box and press the button.
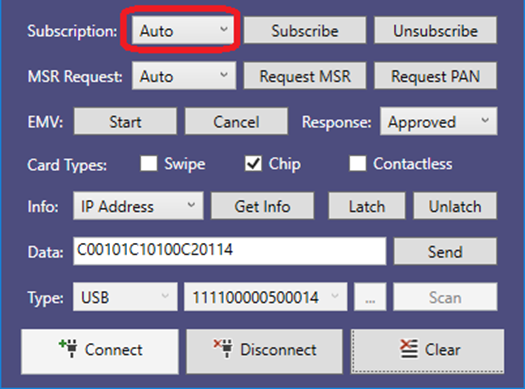
To enable the MTCMS .NET Demo to receive message notifications, the Demo needs to first subscribe to messages. Select Auto in the Subscription list box to enable the Demo to Subscribe after connecting to the device.
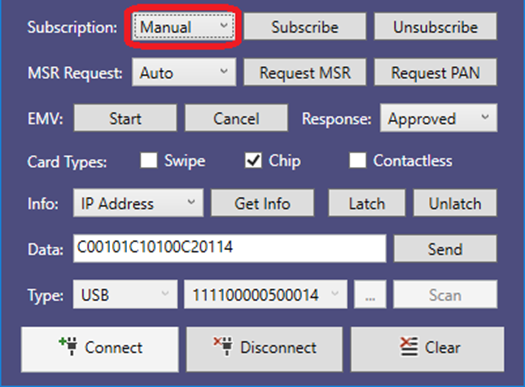
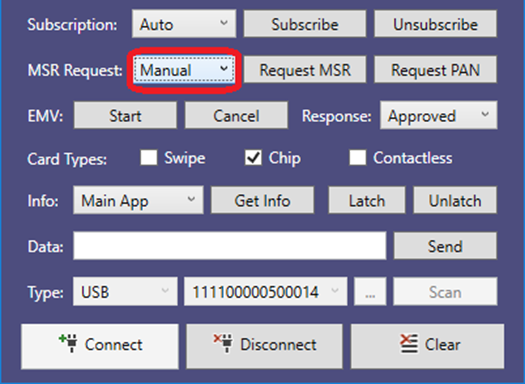
To stop the Demo from automatically subscribing to message notifications after connecting to a device, select Manual in the Subscription list box.
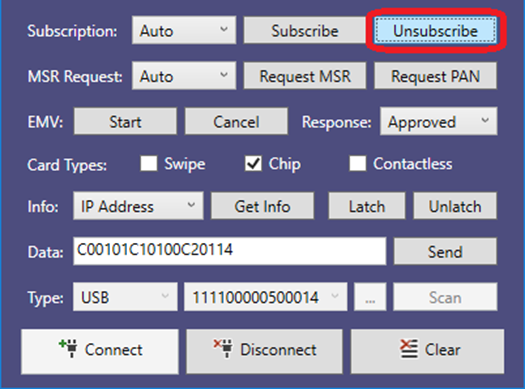
To disable the MTCMS .NET Demo from receiving message notifications from the currently connected device, first connect to the device and then press the Unsubscribe button.
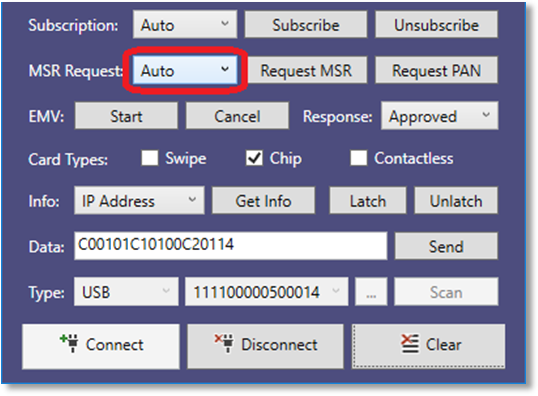
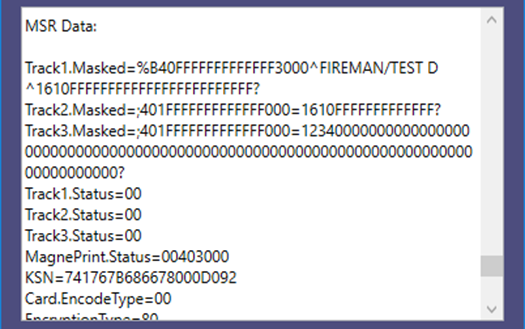
To automatically display magnetic stripe data after a card swipe, select Auto in the MSR Request list box. This step needs only be done once on the currently connected device
Insert and remove a card from the device. The magnetic stripe data will be displayed in the status box.
To manually display magnetic stripe data after a card swipe, select Manual in the MSR Request list box. This step needs only be done once on the currently connected device.
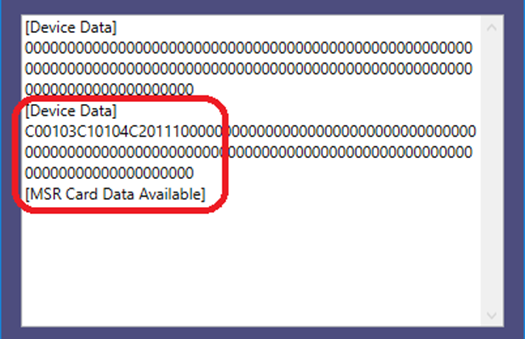
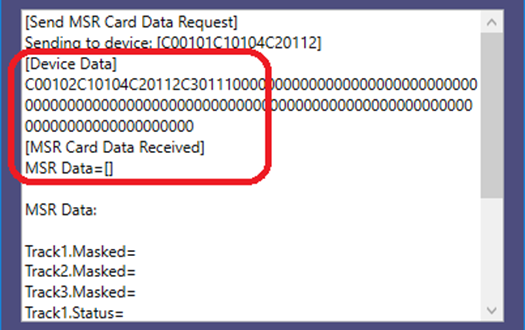
Insert then remove a magnetic stripe card from the device. A notification will inform that MSR card data is available.
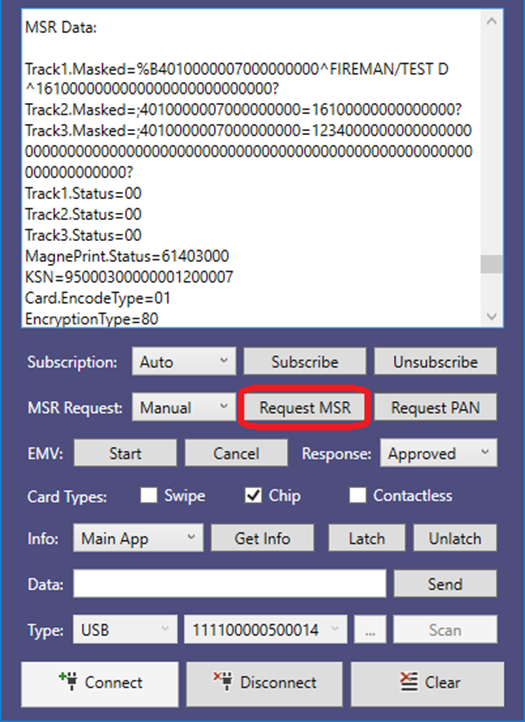
Within 5 seconds of this notification (the device’s MSR data retention period), press the Request MSR Data button to receive the magnetic stripe data
If a manual request is not sent in time, the display will show empty data fields because the response has no magnetic stripe data.
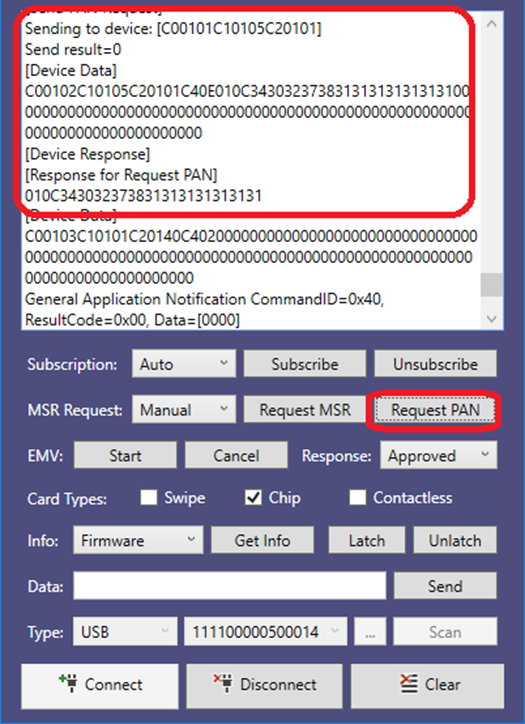
To request that PAN data, press the Request PAN button button immediately after pressing the Request MSR button.
Example sequence: Insert card > Remove card > Request MSR > Request PAN
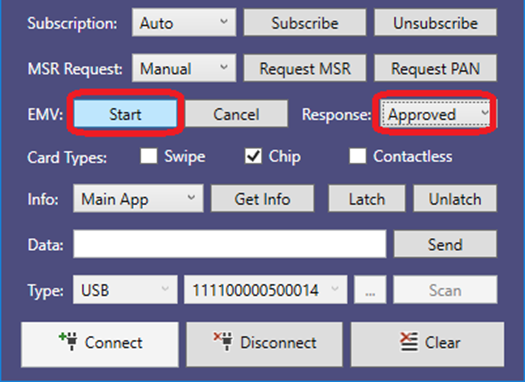
To perform an EMV transaction, insert the chip card, select the desired response from the Response list box, then press the Start button.
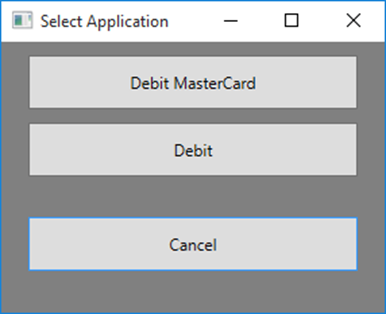
Follow any instructions for application or language selection.
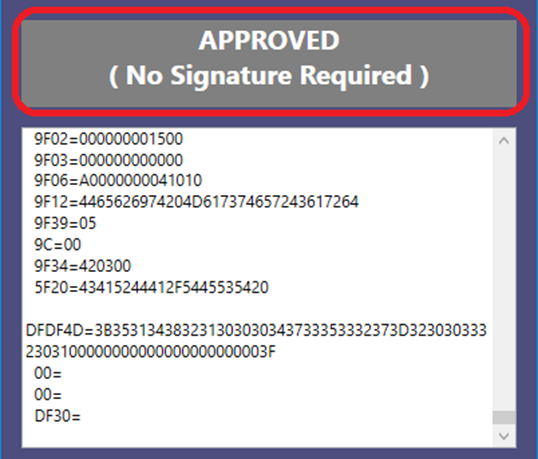
After the transaction, the status will be displayed.
1To cancel the EMV transaction, press the Cancel button. Please note that the cancel feature will only work before the card is inserted (Not supported at this time).
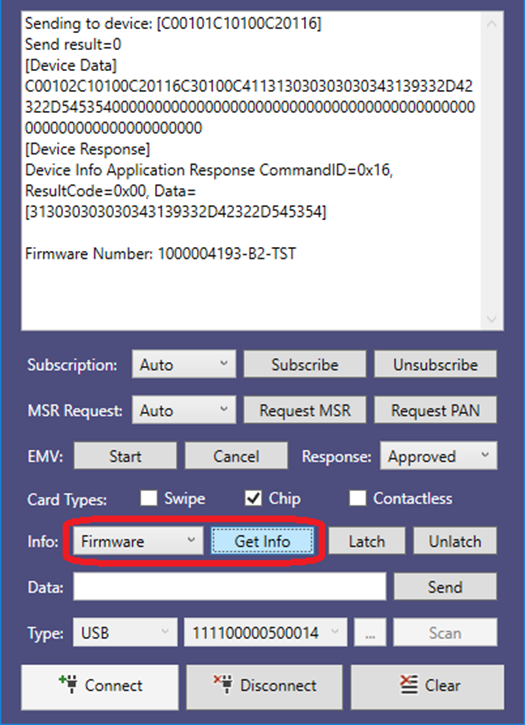
To view the device information, select the desired information from the Info list box, then press the Get Info button. An example of requesting Firmware information is shown below.
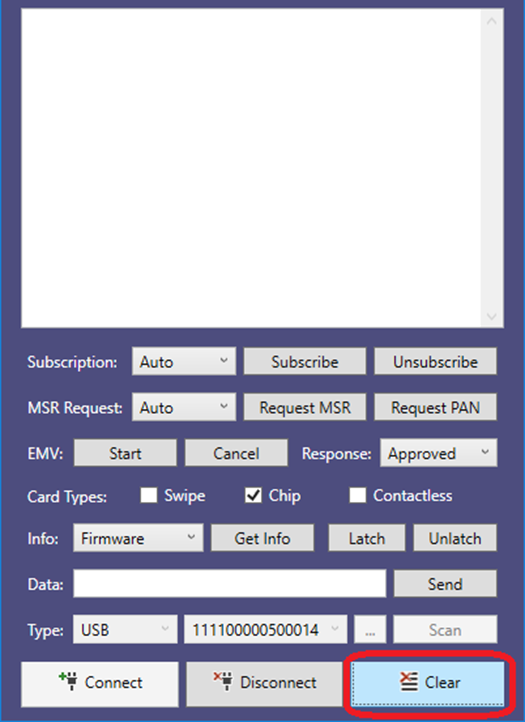
To clear the screen, press the Clear button.
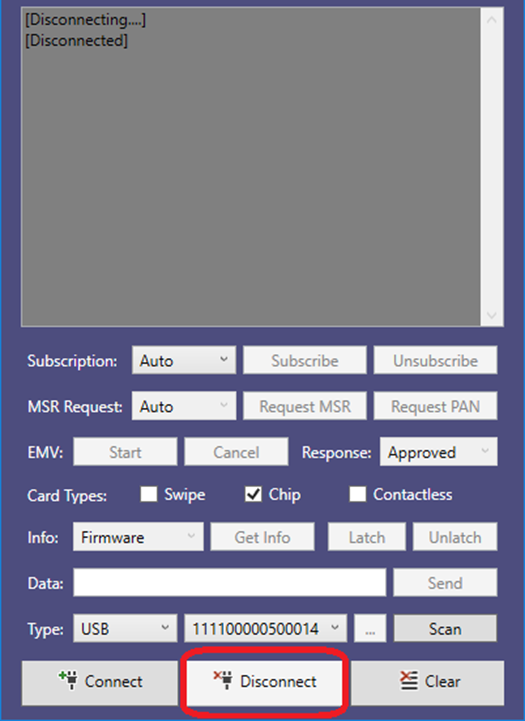
To close the device, press the Disconnect button.
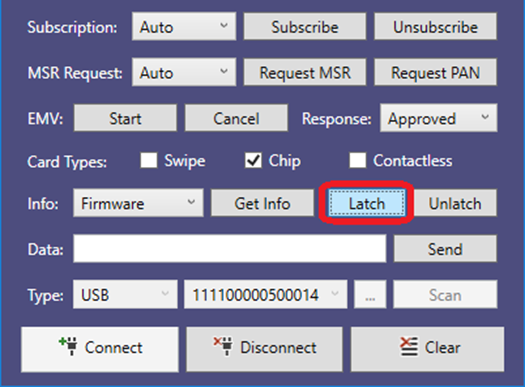
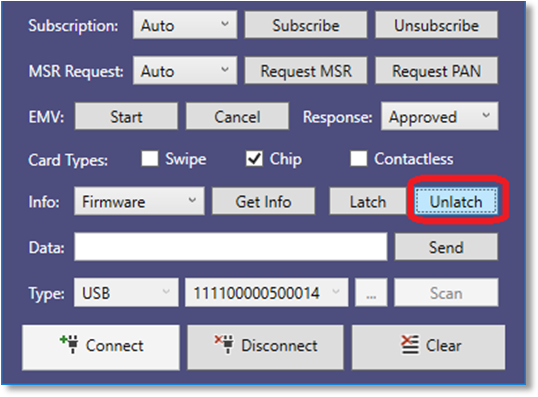
To demonstrate card Latch and Unlatch, press the Latch button and listen for an audible click. Now press the Unlatch button and listen for an audible click.
This document provides the instructions to use the MTCMSNET Demo. It is part of a larger library of documents designed to assist oDynamo implementers, which includes the following documents available from MagTek:
· D998200160 ODYNAMO PROGRAMMER'S REFERENCE MANUAL (MICROSOFT .NET)
Copyright © 2006 – 2018 MagTek, Inc. Printed in the United States of America
Information in this publication is subject to change without notice and may contain technical inaccuracies or graphical discrepancies. Changes or improvements made to this product will be updated in the next publication release. No part of this document may be reproduced or transmitted in any form or by any means, electronic or mechanical, for any purpose, without the express written permission of MagTek, Inc.
MagTek® is a registered trademark of MagTek, Inc. oDynamo™ is a trademarks of MagTek, Inc.
Microsoft® and Windows® are registered trademarks of Microsoft Corporation.
All other system names and product names are the property of their respective owners.
Table 0.1 – Revisions
SOFTWARE LICENSE AGREEMENT
IMPORTANT: YOU SHOULD CAREFULLY READ ALL THE TERMS, CONDITIONS AND RESTRICTIONS OF THIS LICENSE AGREEMENT BEFORE INSTALLING THE SOFTWARE PACKAGE. YOUR INSTALLATION OF THE SOFTWARE PACKAGE PRESUMES YOUR ACCEPTANCE OF THE TERMS, CONDITIONS, AND RESTRICTIONS CONTAINED IN THIS AGREEMENT. IF YOU DO NOT AGREE WITH THESE TERMS, CONDITIONS, AND RESTRICTIONS, PROMPTLY RETURN THE SOFTWARE PACKAGE AND ASSOCIATED DOCUMENTATION TO THE ADDRESS ON THE FRONT PAGE OF THIS DOCUMENT, ATTENTION: CUSTOMER SUPPORT.
MagTek, Incorporated (the "Licensor") owns and has the right to distribute the described software and documentation, collectively referred to as the "Software."
LICENSE: Licensor grants you (the "Licensee") the right to use the Software in conjunction with MagTek products. LICENSEE MAY NOT COPY, MODIFY, OR TRANSFER THE SOFTWARE IN WHOLE OR IN PART EXCEPT AS EXPRESSLY PROVIDED IN THIS AGREEMENT. Licensee
may not decompile, disassemble, or in any other manner attempt to reverse engineer the Software. Licensee shall not tamper with, bypass, or alter any security features of the software or attempt to do so.
TRANSFER: Licensee may not transfer the Software or license to the Software to another party without the prior written authorization of the Licensor. If Licensee transfers the Software without authorization, all rights granted under this Agreement are automatically terminated.
COPYRIGHT: The Software is copyrighted. Licensee may not copy the Software except for archival purposes or to load for execution purposes. All other copies of the Software are in violation of this Agreement.
TERM: This Agreement is in effect as long as Licensee continues the use of the Software. The Licensor also reserves the right to terminate this Agreement if Licensee fails to comply with any of the terms, conditions, or restrictions contained herein. Should Licensor terminate this Agreement due to Licensee's failure to comply, Licensee agrees to return the Software to Licensor. Receipt of returned Software by the Licensor shall mark the termination.
LIMITED WARRANTY: Licensor warrants to the Licensee that the disk(s) or other media on which the Software is recorded are free from defects in material or workmanship under normal use.
THE SOFTWARE IS PROVIDED AS IS. LICENSOR MAKES NO OTHER WARRANTY OF ANY KIND, EITHER EXPRESS OR IMPLIED, INCLUDING, BUT NOT LIMITED TO, THE IMPLIED WARRANTIES OF MERCHANTABILITY AND FITNESS FOR A PARTICULAR PURPOSE.
Because of the diversity of conditions and PC hardware under which the Software may be used, Licensor does not warrant that the Software will meet Licensee specifications or that the operation of the Software will be uninterrupted or free of errors.
IN NO EVENT WILL LICENSOR BE LIABLE FOR ANY DAMAGES, INCLUDING ANY LOST PROFITS, LOST SAVINGS, OR OTHER INCIDENTAL OR CONSEQUENTIAL DAMAGES ARISING OUT OF THE USE, OR INABILITY TO USE, THE SOFTWARE. Licensee's sole remedy in
the event of a defect in material or workmanship is expressly limited to replacement of the Software disk(s) if applicable.
GOVERNING LAW: If any provision of this Agreement is found to be unlawful, void, or unenforceable, that provision shall be removed from consideration under this Agreement and will not affect the enforceability of any of the remaining provisions. This Agreement shall be governed by the laws of the State of California and shall inure to the benefit of MagTek, Incorporated, its successors or assigns.
ACKNOWLEDGMENT: LICENSEE ACKNOWLEDGES THAT HE HAS READ THIS AGREEMENT, UNDERSTANDS ALL OF ITS TERMS, CONDITIONS, AND RESTRICTIONS, AND AGREES TO BE BOUND BY THEM. LICENSEE ALSO AGREES THAT THIS AGREEMENT SUPERSEDES ANY AND ALL VERBAL AND WRITTEN COMMUNICATIONS BETWEEN LICENSOR AND LICENSEE OR THEIR ASSIGNS RELATING TO THE SUBJECT MATTER OF THIS AGREEMENT.
QUESTIONS REGARDING THIS AGREEMENT SHOULD BE ADDRESSED IN WRITING TO MAGTEK, INCORPORATED, ATTENTION: CUSTOMER SUPPORT, AT THE ADDRESS LISTED IN THIS DOCUMENT, OR E-MAILED TO
To connect to the oDynamo, follow these steps.
To set up the USB interface with oDynamo on Windows PC, follow these steps:
Connect the oDynamo to the USB port of the Windows PC. Connect the power cable to the oDynamo and wait 1 minute for the device to fully boot up.
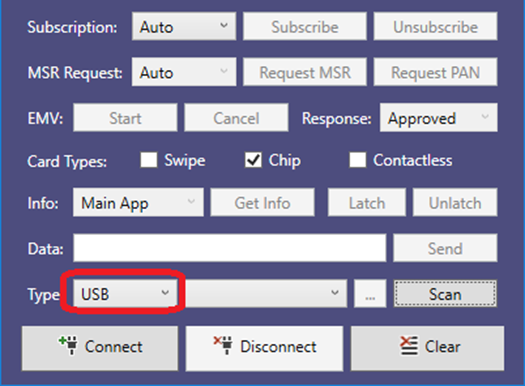
Launch the MTCMSNET Demo and select USB as the device type in the Type list box.
Rev Number
Date
Notes
10
May 21, 2018
Initial release
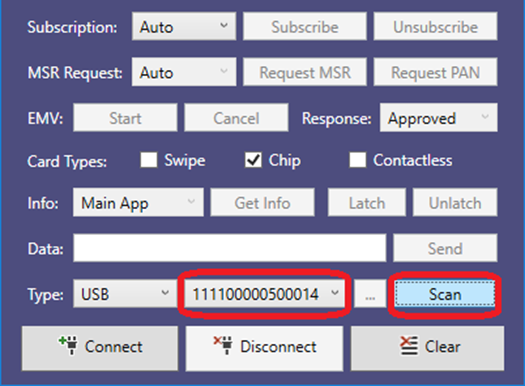
Press the Scan button to scan for connected USB devices.
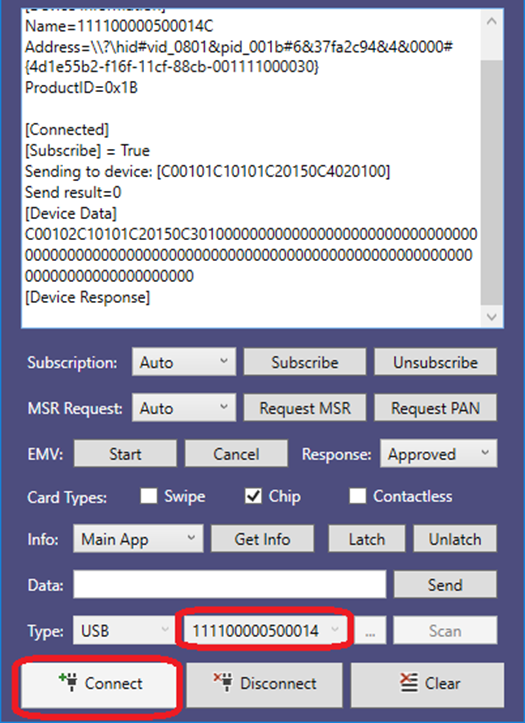
Select the Device ID and press the Connect button to open the device.
If Ethernet interface will be used, select IP Address from the Info list box and press the Get Info button. Note the value retuned from the response as this will be used for the IP Address when connecting via Ethernet Interface.
To set up the Ethernet interface with oDynamo on Windows PC, follow these steps:
Connect the oDynamo to the Ethernet port on the Ethernet hub, connect the power cable to the oDynamo and wait 1 minute for the device to fully boot up.
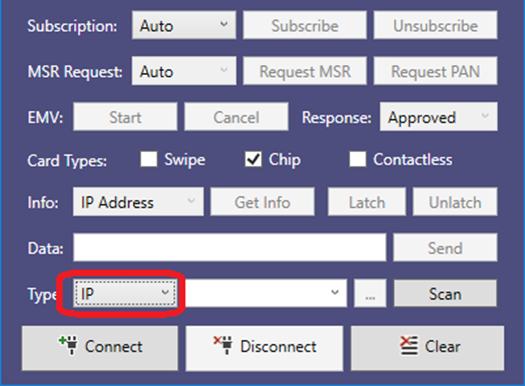
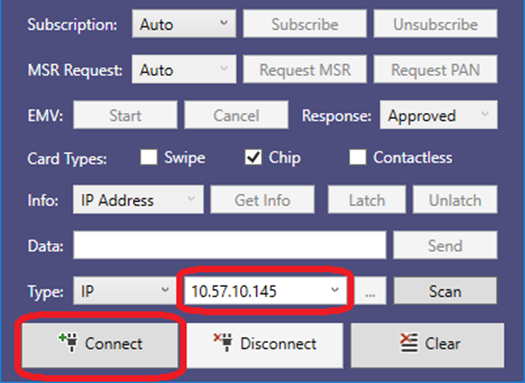
Launch the MTCMSNET Demo and select IP as the device in the Type list box.
Enter the IP address attained from the last step from connection via USB Interface section 2.1, then press the Connect button to open the device. The MTCMS NET Demo may take up to 30 seconds before disconnecting if the device cannot be connected.
To set up the Serial interface with oDynamo on Windows PC, follow these steps:
Connect the oDynamo to the Serial port, connect the power cable to the oDynamo and wait 1 minute for the device to fully boot up.
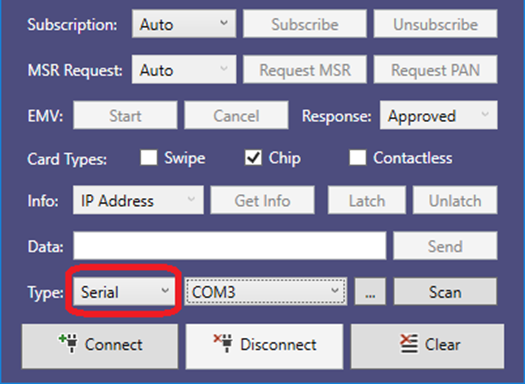
Launch the MTCMSNET Demo and select Serial as the device in the Type list box.
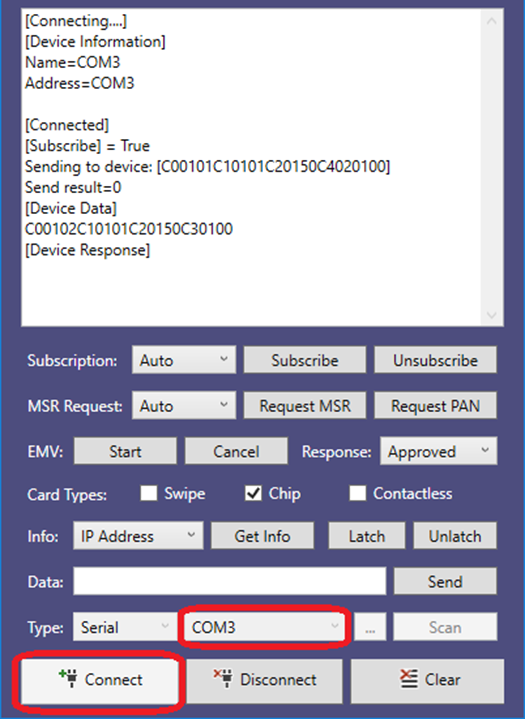
Select the Com number the device is attached to and press the Connect button to open the device.